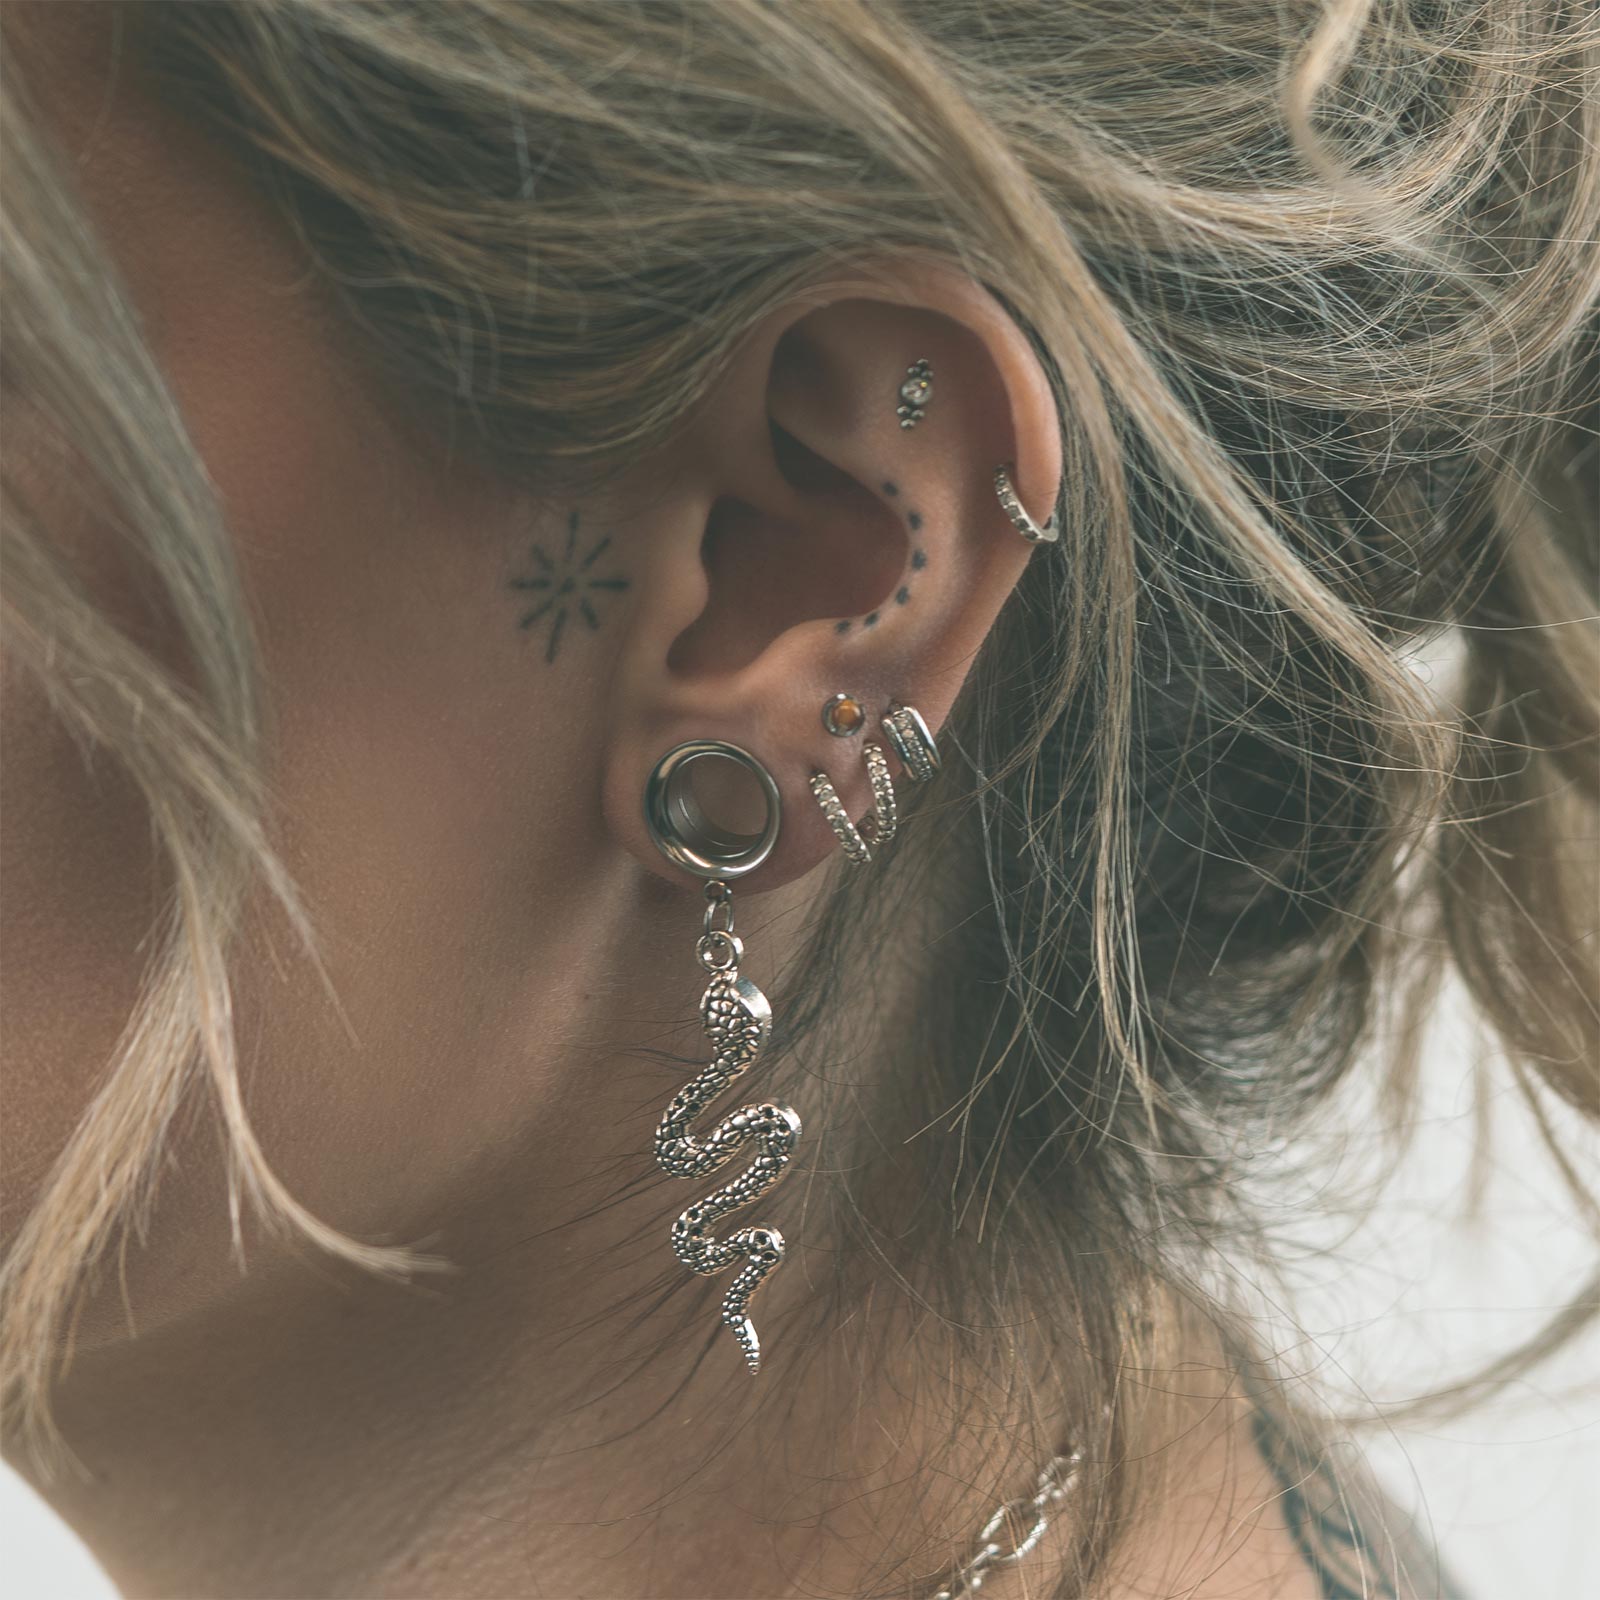
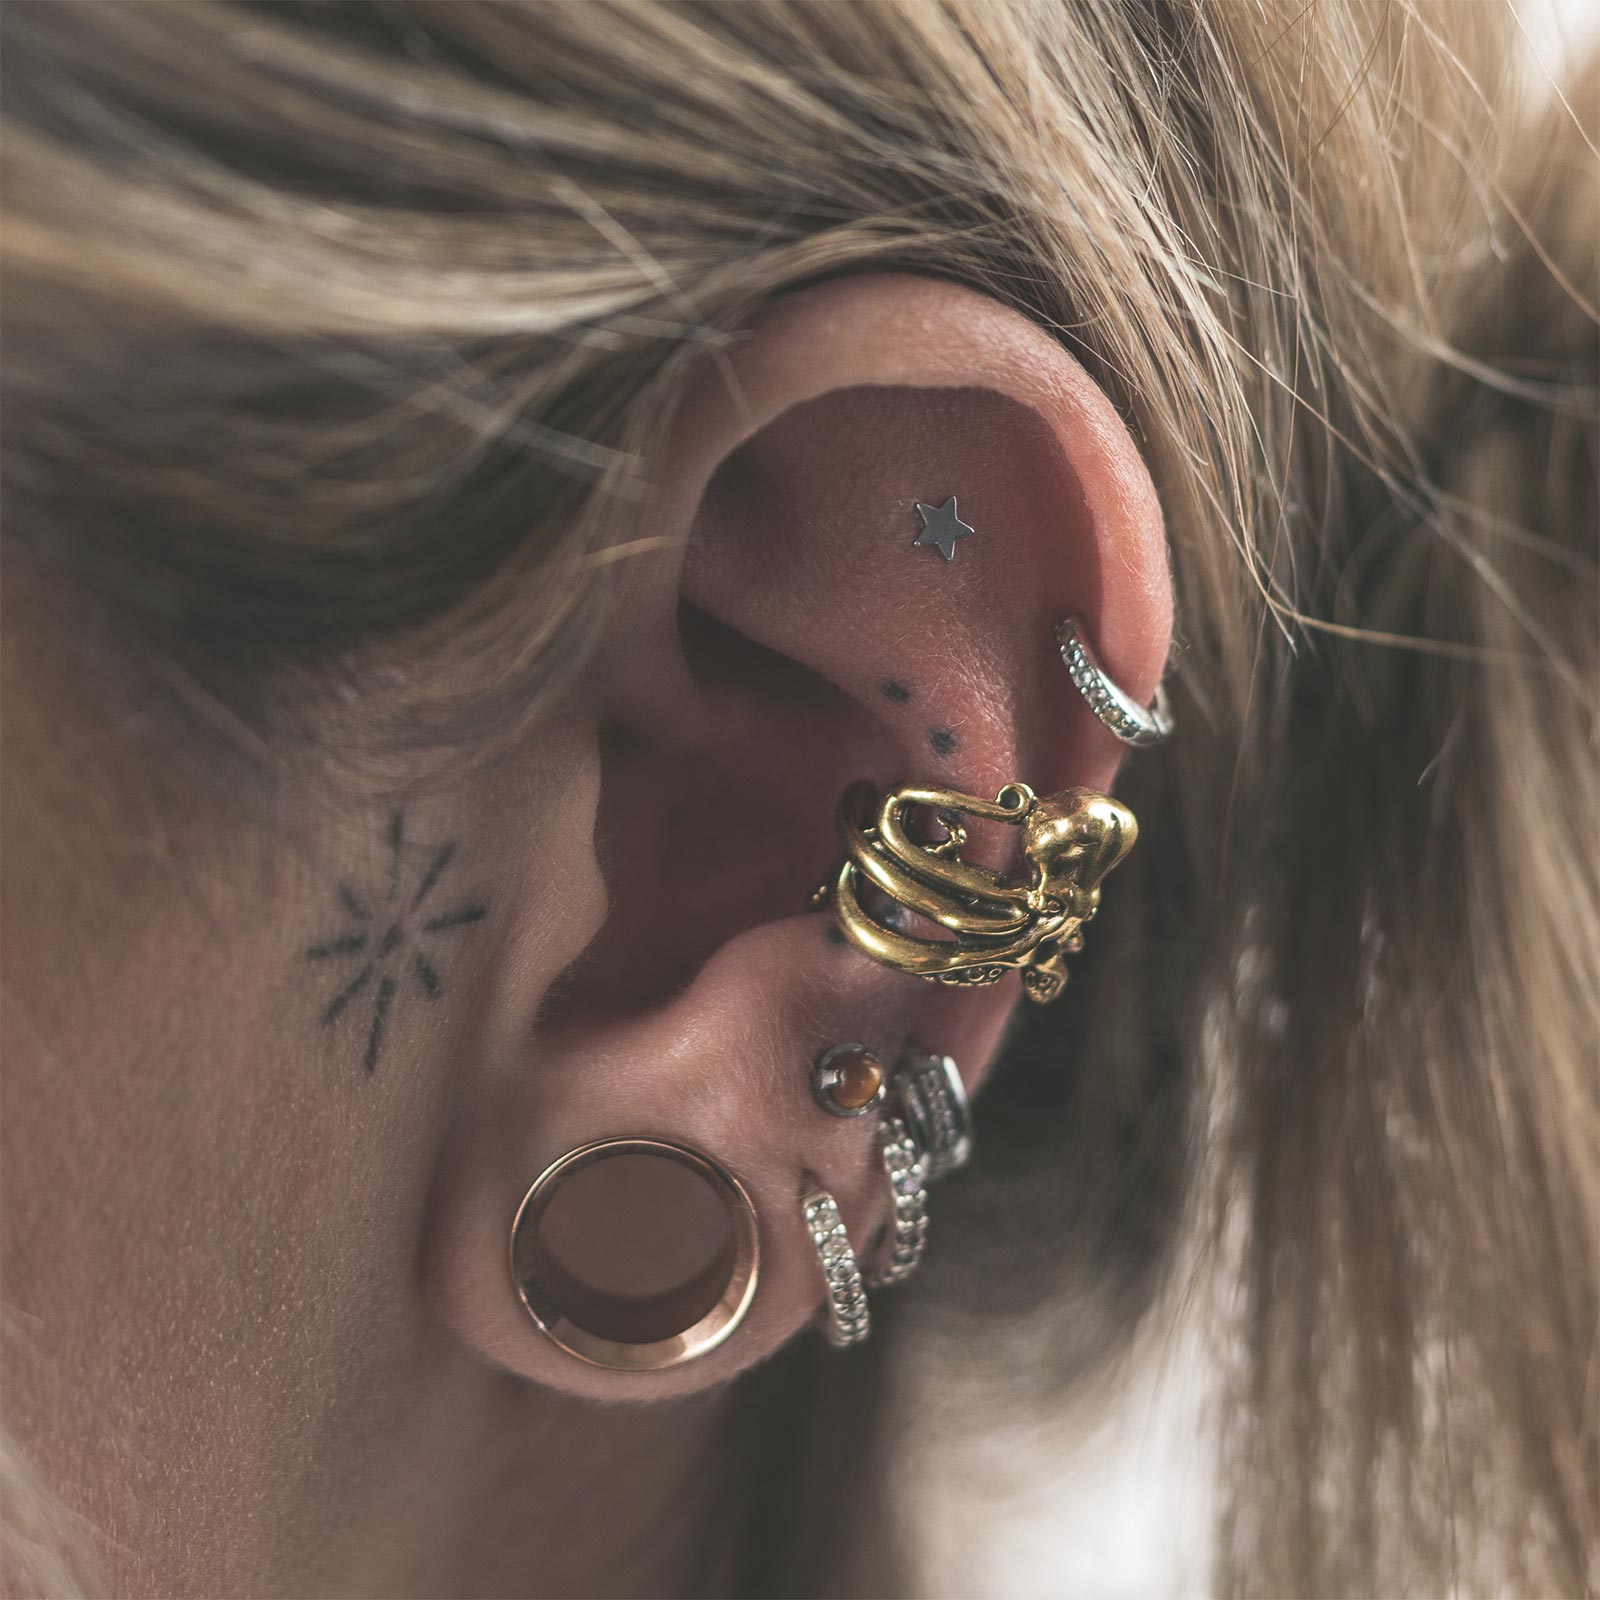
"It’s a massive achievement to reach your desired ear stretching sizes, so celebrate, whether you’re stopping at 6mm or pushing past an inch. Be proud of your lobes and the journey you’ve been on, where ever you’re at, and where ever you intend to be."
Ear stretching sizes are the bedrock of ear stretching. The starting point. And the end game. Everything begins with first understanding ear gauge sizes, and then getting it right in practice.
For all these reasons and more, you’ll want to join us on a voyage of discovery through ear stretching sizes, whether you’re new to the gauge game, in the middle of your journey, or a seasoned pro realising how far you've come.
A word of warning! It’s as clear as mud at first. But the SIBJ Team has pulled together all the info you need, plus a handy ear gauge size chart. Everything will make perfect sense by the end of this article, we promise.
Discussed In This Post
Why Ear Stretching Sizes Make Zero Sense (At First)

You’re far from alone if you’re scratching your head wondering why a 4g is bigger than an 18g. In fact, the ear gauge size scale often makes as much sense to newbies as putting pineapple on pizza (no disrespect if you’re a fan!).
The good news is ear gauge sizes aren’t so bad once you get your head around them. And thinking about a weird, backwards countdown to epic earlobes really helps you do this. Put plainly, the bigger the hole in your ear, the smaller the number on the ear gauge size scale.
Why is the Ear Gauge Size Guide So Complicated?
It sometimes feels like a conspiracy against the ear gauge community. But the reason ear stretching sizes are so confusing is because they weren’t originally intended for earlobes at all. In fact, ear gauge sizes come from the British wire industry.
Back in the day, they used fractions to measure wire thickness with a 1-inch steel plate. So, a 1/16th of an inch became a 16g, an 1/8th an 8g, and so on and so forth.
Confused? You will be. Because the system flips out and goes all metric (mm) and imperial (inches) when you hit the bigger ear stretching sizes past 00g. (Don’t worry, we’ll be talking about going big or going barmy in more detail.)
But enough talking about the nuts and bolts of the ear gauge size scale. It really helps to to actually look closely at a gauge sizing chart for ears when you want to start making sense of it.
The Ear Gauge Size Guide (Aka Your Bible)
So, let’s talk numbers, shall we? An ear gauge size guide is your NBF for figuring out:
- What size you’re currently at
- Where you’re going
- How to get there without turning your earlobes into something resembling an over-stewed roast
Here’s a simple, ‘at-a-glance’ gauge sizing chart for ears to help you on your way:
| Millimetre | Gauge / Inch | Description |
| 0.8mm | 20g | Standard piercing size |
| 1mm | 18g | Also a standard piercing size |
| 1.2mm | 16g | Some piercers pierce at 1.2mm / 16g, especially on cartlidge piercings |
| 1.6mm | 14g | Your first step into the gauging game |
| 2mm | 12g | Double a standard piercing, whoo! |
| 2.4mm | 10g | 0.4mm, that was easy |
| 3mm | 8g |
Your mum's starting to give you side-eyes |
| 4mm | 6g | Now we are cooking |
| 5mm | 4g | You can start thinking about double flares |
| 6mm | 2g | Potentially the point of no return |
| 8mm | 0g | Loads of cool plugs are now available |
| 10mm | 00g | Double digits, the goal size of many |
| 11mm | 7/16" | Limited choice, stepping stone for 12mm. No more tapers, please! |
| 12mm | 1/2" | Half an inch! Loads of detail can be captured in your plugs |
| 14mm | 9/16" | Things are getting serious |
| 16mm | 5/8" | Super popular goal size for many |
| 18mm | 11/16" | Limited choice of jewellery |
| 19mm | 3/4" | Another popular goal size |
| 22mm | 7/8" | Flesh tunnels now look amazing! |
| 25mm | 1" | Seriously impressive, congrats! |
As for anything beyond this? Well, you are a true ear stretching pro. The sky’s the limit – or your ear’s elasticity!
Gauge Sizes, Millimetres, or Inches?

The different measurement systems for ear stretching sizes cause endless debates in the community. Some stretchers swear by ear gauge sizes, while others are hardcore millimetre fans. Then there are those who dabble in inches just to keep things interesting.
At the end of the day, getting it right is what matters most. So, go with the ear gauge size scale you understand best.
Everybody has different opinions and preferences, often breaking down into the following camps:
- Gauges - The traditional way to measure ear stretching sizes up to 10mm (00g), but can be confusing
- Millimetres - More precise, and a lot of folks prefer them because they’re easier to understand, especially if you’re past the 00g mark or aspire to be
- Inches – There for you if you’re a fractions and maths kind of dude
Just be consistent, whatever ear gauge size scale you choose. After all, switching between systems can get messy, causing safety and aesthetic issues.
What Happens to Ear Gauge Sizes After 00g?
You’re out of the standard gauge sizing game once you’ve hit 00g. Whether you like it or not, it’s all about inches or millimetres from here on in. So, it’s worth getting used to these ear stretching sizes from the start if you’re planning to go big. Doing so removes any need to start decoding a different ear gauge size scale when you’ve already bossed another.
The next size up is 7/16 inch (11mm), then 1/2 inch (12mm), and so on, with every increment getting a bit larger. So, take your time with these heftier stretches, because each one is a commitment.
When to Stop? Is There a Point of No Return?

Been stretching for a while now, and starting to wonder how far is too far? Well, the answer depends on your end game.
6mm (2g) is a safe bet if you’re thinking about the day you might want to return to “normal”. Ears stretched to this size usually shrink back down if you decide to ditch the plugs. But beyond that, you’re entering the land of “This might be permanent, mate.”
That being said, we've heard of lobes much bigger shrinking back to a standard-size piercing, to find out more on this subject give our article a read - Do Stretched Ears Shrink Back?
Start Small, Grow Big
When you first get your lobes pierced, chances are you’re rocking a tiny 18g or 20g (that’s 1mm or smaller). And the fun begins from these humble ear stretching sizes.
You’re ready to start your own personal journey when your piercing is nicely healed. This means no crusties, no pain, no worries, which usually takes four – six months before transforming your piercing to a full-on stretch.
The general rule of thumb? Go slow, and NEVER skip sizes. Patience is your best friend. And trust us, it pays off big time.
And the most common ear gauge sizes to get going?
Most people start stretching at 1.6mm (14g). It’s a manageable size and doesn’t freak out your lobes too much. You can slowly and steadily increase the size from here. But remember, rushing is the cardinal sin of ear stretching.
We can’t overstate it isn’t a race to bigger ear stretching sizes. It’s a marathon. Of course, it can be tempting to skip sizes or stretch too soon when you’re itching to zoom up the gauge sizing chart for ears. But each stretch is a step closer to the finish line of gauge badassery, which really isn’t worth jeopardising.
Plan a Realistic Stretching Schedule

Give your lobes a break after each stretch. They’ve just been through a lot! One of our most frequently asked questions is how long. We recommend waiting at least eight weeks between each size. So, catch your breath and let your ears do their thing. It can feel like a bummer when you’re raring to go. But you’ll be rewarded with:
- Thick, juicy lobes without any thinning of the tissues and scarring
- Reduced risk of blowouts and infections
- Smooth, trouble-free stretching journey
A word of caution. Every stretch is completely unique. Don't always presume the same amount of time is needed between each stretch. You may find some ear stretching sizes are more stubborn than others!
Do Different Stretching Methods Work Best for Difference Sizes?
You might already be aware of the different ways to stretch your ears, and everyone’s got their preferred method. Here’s a quick rundown:
Tapers
Many people start with cone-shaped tapers that gradually widen as they’re inserted into your piercing. They’re affordable and easy to use, although they can cause problems when they aren’t handled with care. But the tapering method can get trickier and more uncomfortable once you’re past 00g, and many stretchers switch to another method at this stage.
Dead Stretching
Slow and steady dead stretching is the most natural and unhurried method (and SIBJ’s preferred method across the board). It involves simply inserting a slightly larger piece of jewellery without using any tools. Slow but also safe, because it lets your ear stretch naturally over time. So, size doesn’t really matter.
Taping
This DIY approach involves wrapping a thin layer of tape around your jewellery to gradually increase its size. Adding a layer every few weeks slowly stretches your lobes. It’s a bit more involved, but it’s a popular method if you’re aiming for ear gauge sizes in the 00g and beyond range.
Choose Size Appropriate Jewellery
Shoving any old thing in your freshly stretched lobes is like wearing a potato sack to a wedding! Well, you just wouldn’t would you? And truthfully, the jewellery you choose is as important as the size you’re stretching to. This is because cheap tat and materials that aren’t fresh stretch friendly can hinder your progress or cause problems.
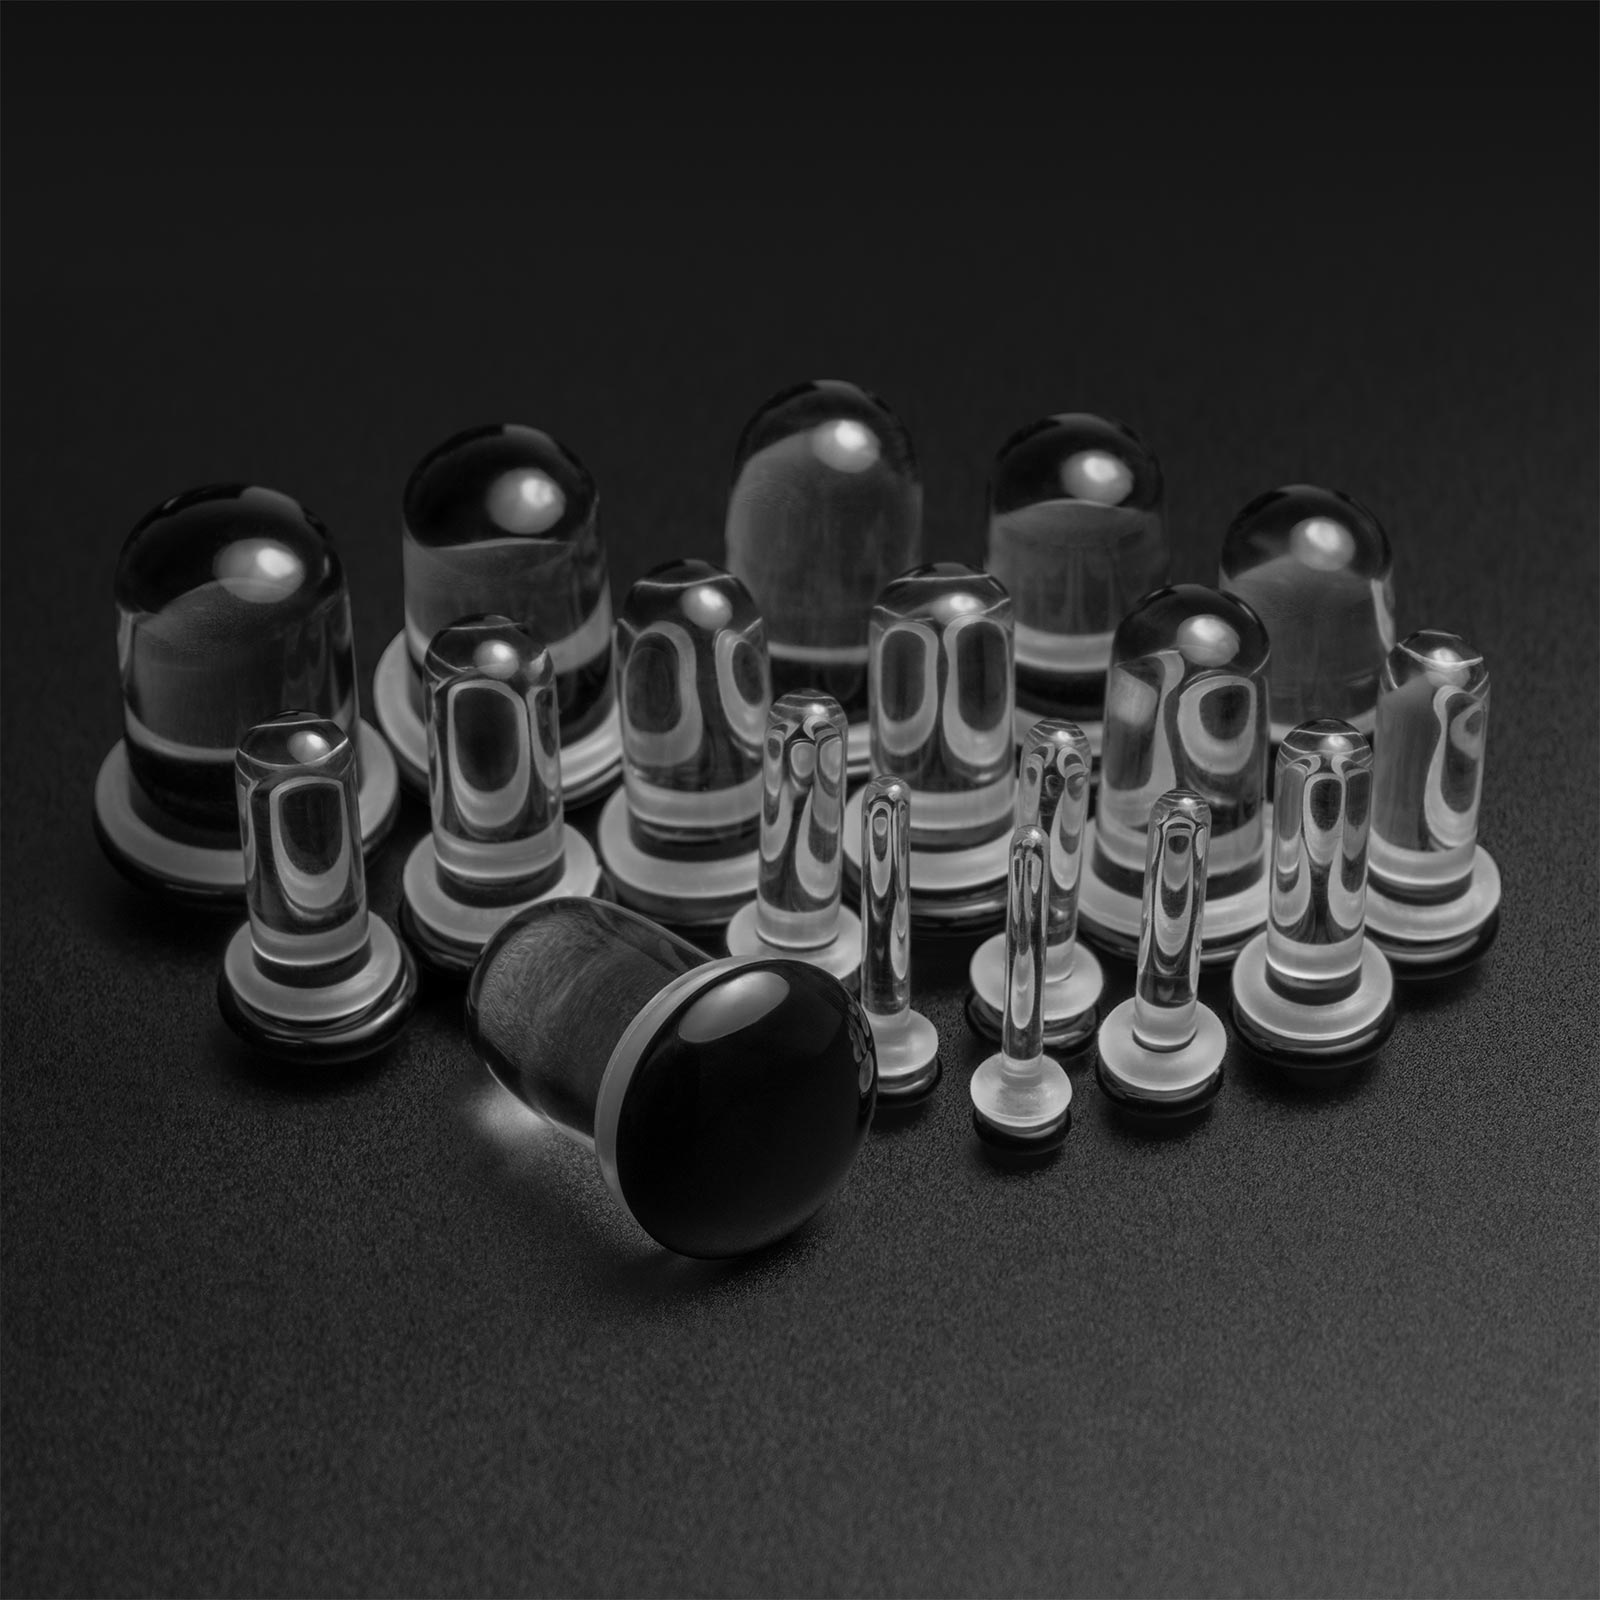
For fresh stretches, start with glass, surgical steel, or titanium, which are:
- Non-porous
- Easy to clean
- Less likely to irritate your ears
Avoid acrylics, silicone, or other organic materials (like wood or bone) until your ears are fully healed. They’re all fair game once your lobes are ready.
Avoid Blowouts and Other Stretching Debacles
You really don’t want to end up with a blowout, a painful, unsightly ring of scar tissue thanks to going up ear stretching sizes too fast. It’s not pretty and can look like your ear gauge is turning inside out. Not to mention it can make your lobes feel rougher than a bad hangover.
Always listen to your body to minimise blowout risk:
- Stop if it hurts, you aren't ready for that next stretch
- If you start getting issues, don't be afraid to downsize or remove your plugs completely for a few days
- Clean your lobes and jewellery regularly, for safety reasons, and because stinky ears are never a good look!
Furthermore, future stretching might be a pain in the lobe if you experience a blowout. This is because scar tissue isn’t as elastic as the rest of your skin, making it harder to go up ear gauge sizes (and down too!).
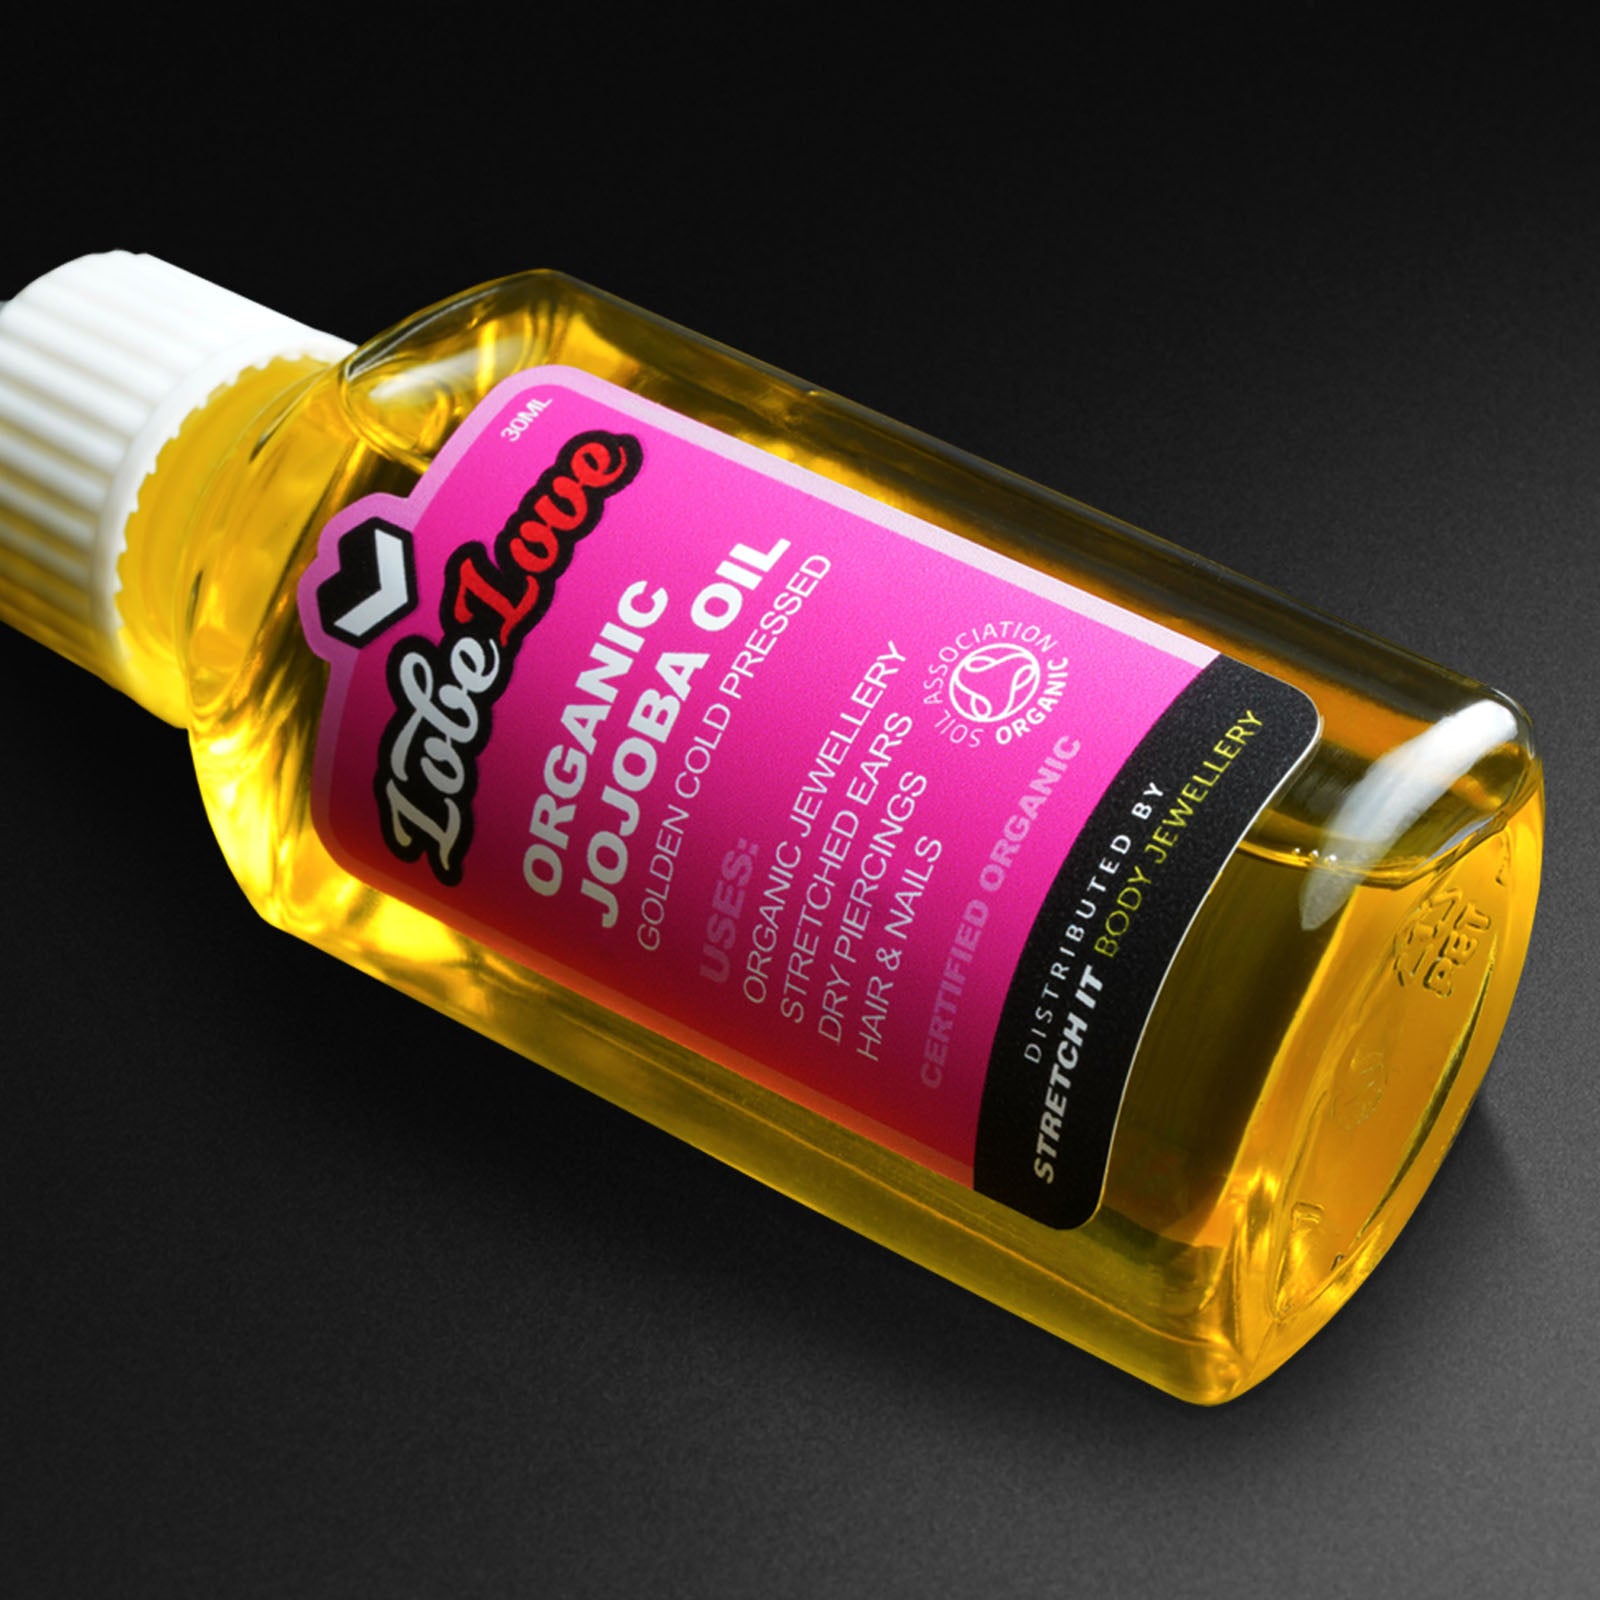
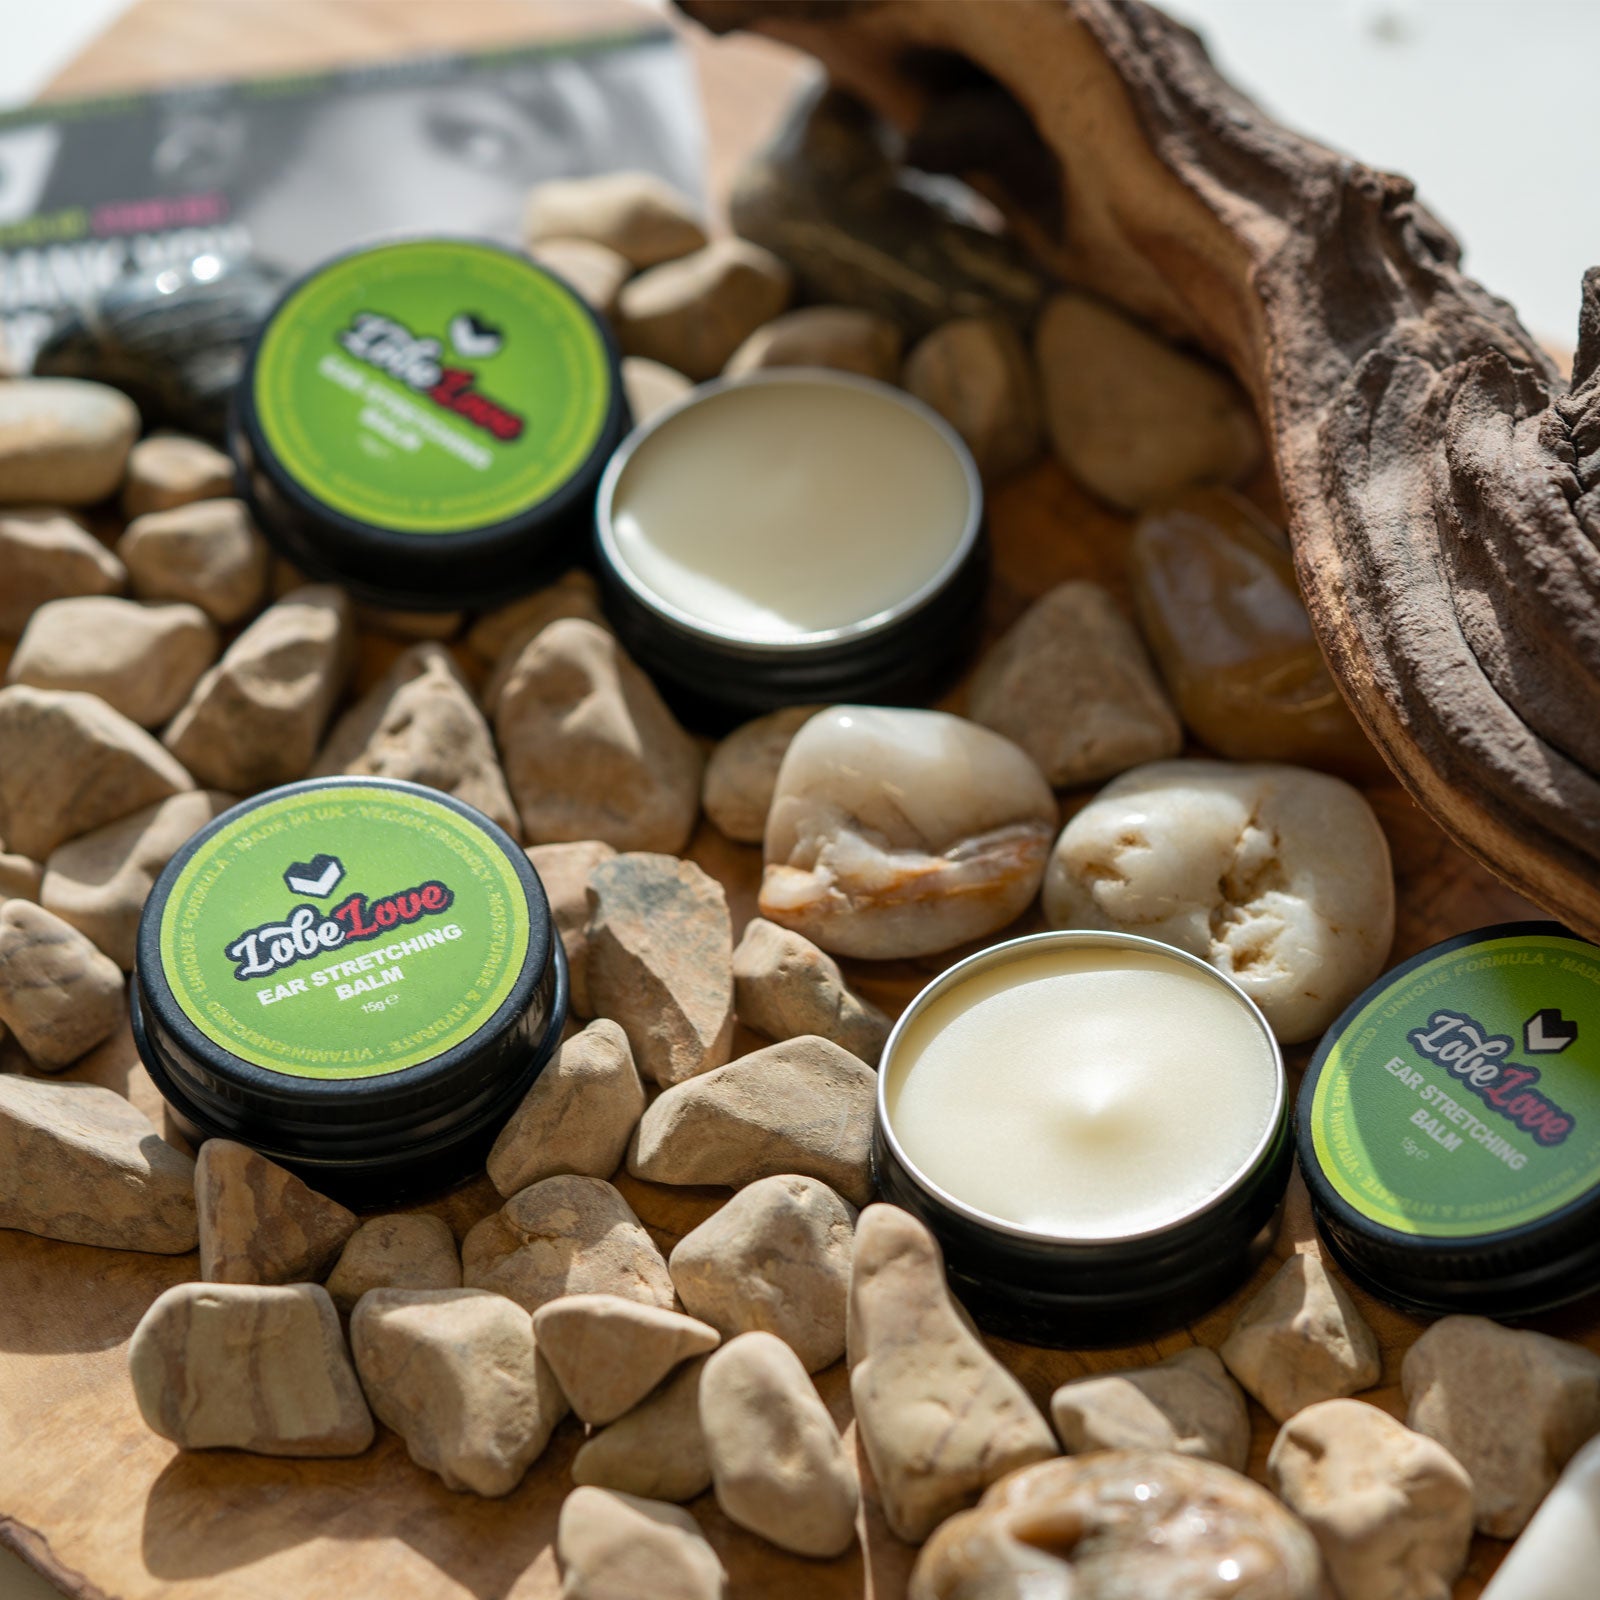
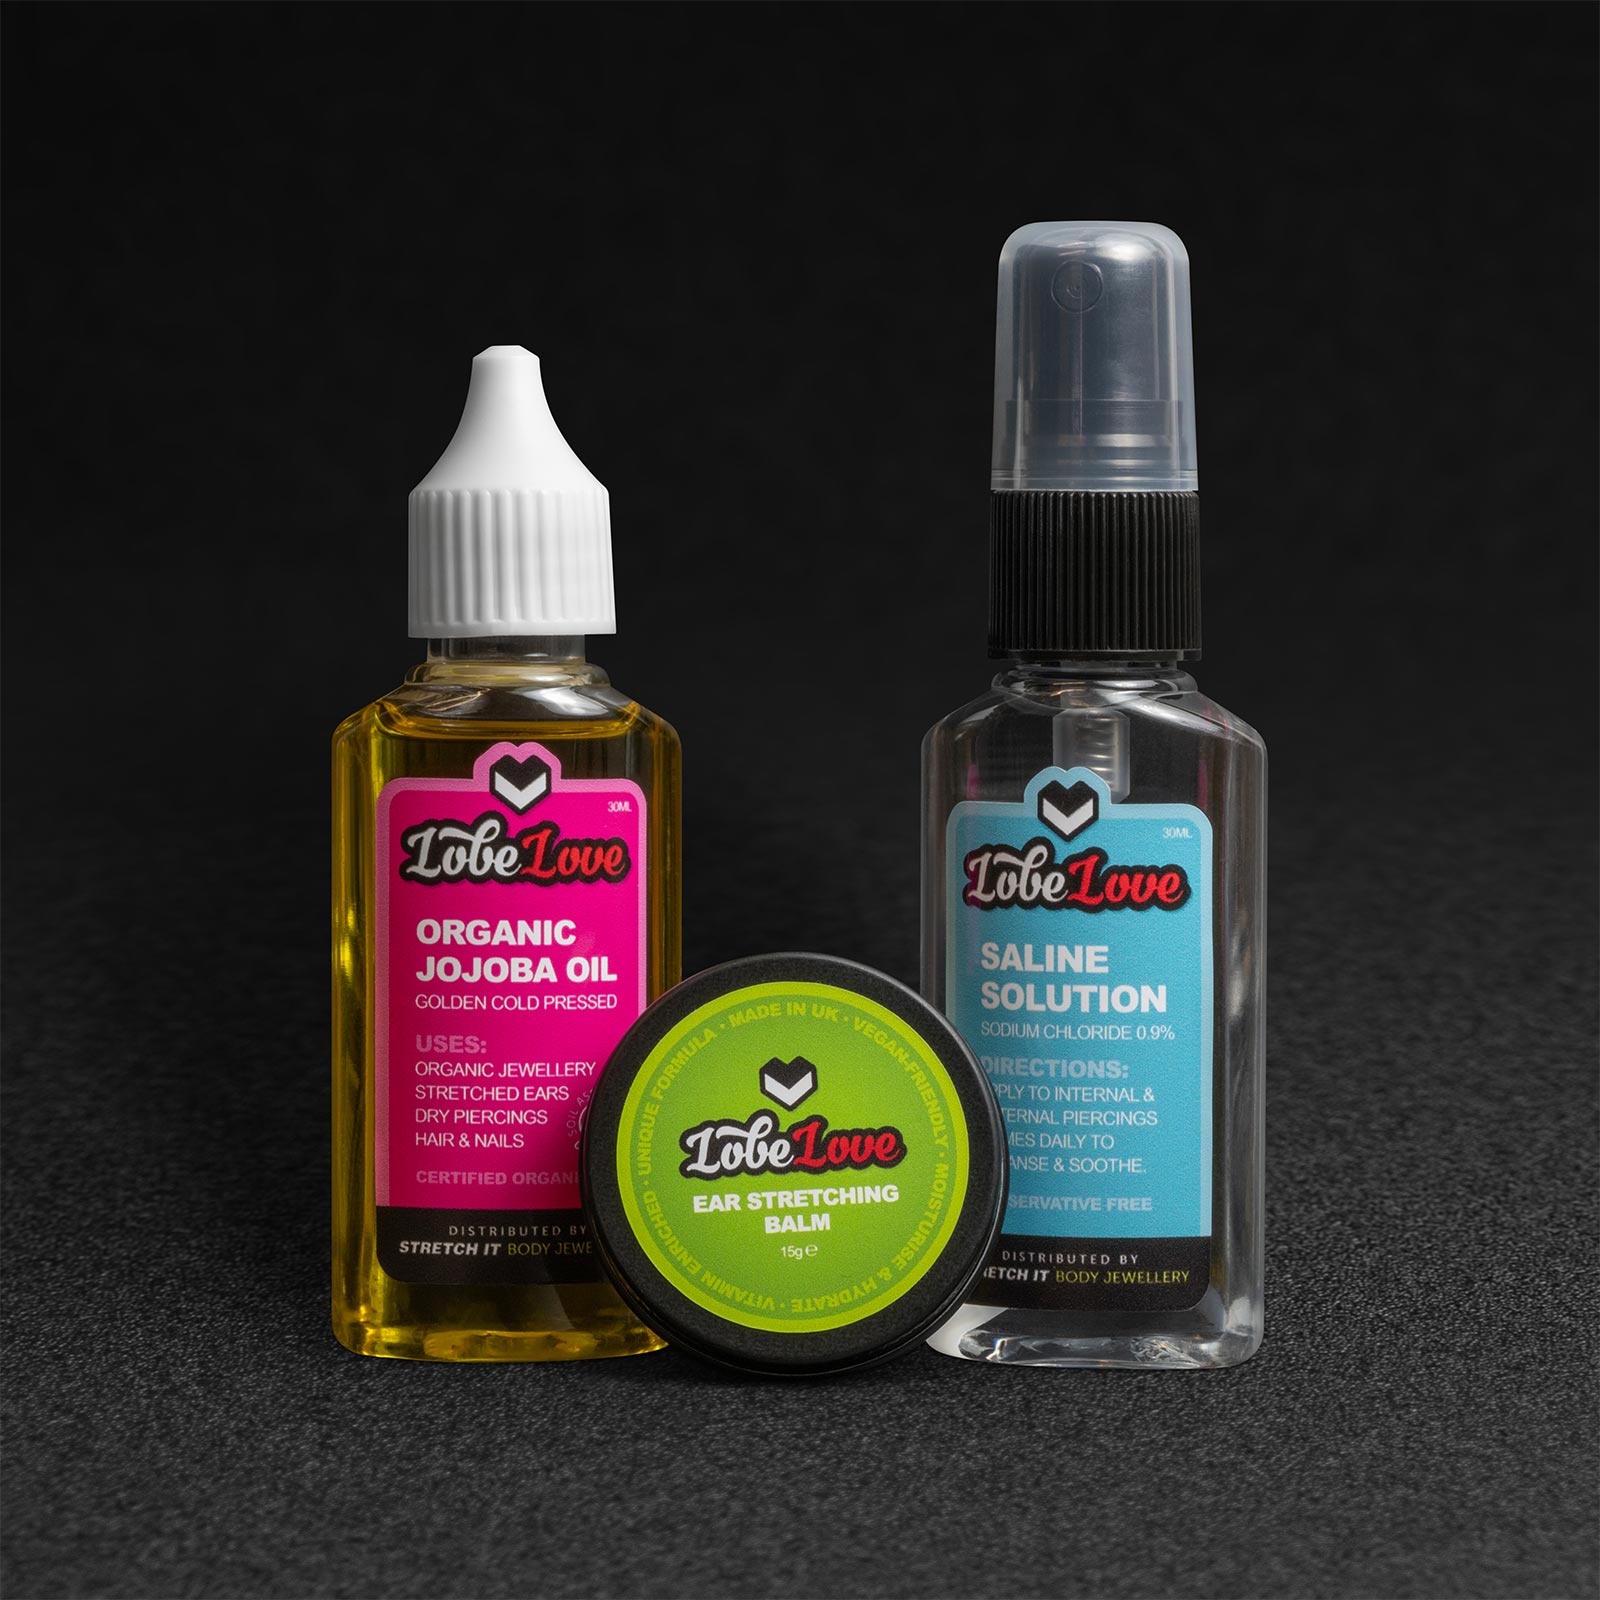
So, play it safe and take all the precautions at your disposal to ensure it doesn’t happen to your ears. Stretch slowly, and regularly massage and moisturise those lobes with LobeLove™ Organic Golden Jojoba Oil or LobeLove™ Premium Ear Stretching Balm.
Keep them happy, and they’ll keep on growing!
Reaching Your Target Size

It’s a massive achievement to reach your desired ear stretching sizes, so celebrate, whether you’re stopping at 6mm or pushing past an inch. Be proud of your lobes and the journey you’ve been on, where ever you’re at, and where ever you intend to be. Hey, you’ve got clean, happy and healthy stretched ears. Now is your time to rock them with pride.
So, you’ve read the ear gauge size guide, and you’re ready to get stretching. Or perhaps you’re already in the thick of it and need some new gear?
At Stretch It Body Jewellery, we’ve got everything you need for a flawless ascent up the ear stretching sizes, from high-quality dead stretching kits to wicked plugs and tunnels.
You’ll find all the tools, jewellery and products you need. Ready to take the plunge? Visit our website and start stretching in style!
Subscribe To Our Awesome Mailer
No spam. Just discounts, exclusive promotions and ear stretching tips & tricks you won't want to miss.


